6 steps to own your content
with a personal static website!

In this article I will explain how to freely host a brand new static website online in six steps, using GitHub pages and Jekyll. Basically, this is a short guide on how I set up this website.
Requirements
To follow the steps below you will only need three things: (1) an internet connection, (2) a Unix-based shell, and (3) a GitHub account.
Assuming you are reading this article online, you definitely have the first item of the list figured out.
Then, if you are on MacOS or Linux, the Unix-based shell is simply your normal terminal. If you are on Windows, instead, you will need to activate the Linux Bash Shell on your system (here is a bash installation guide by It’s FOSS).
Finally, if you do not have a GitHub account, head over to GitHub and create a new one! A GitHub account is needed to use the free GitHub Pages hosting service, which runs a Jekyll instance to host your website online.
When choosing a username, keep in mind that, depending on the next step, your website will be accessible at one of the following addresses:
yourUsername.github.ioyourUsername.github.io/repositoryName
Here is an example of how to create a new user.

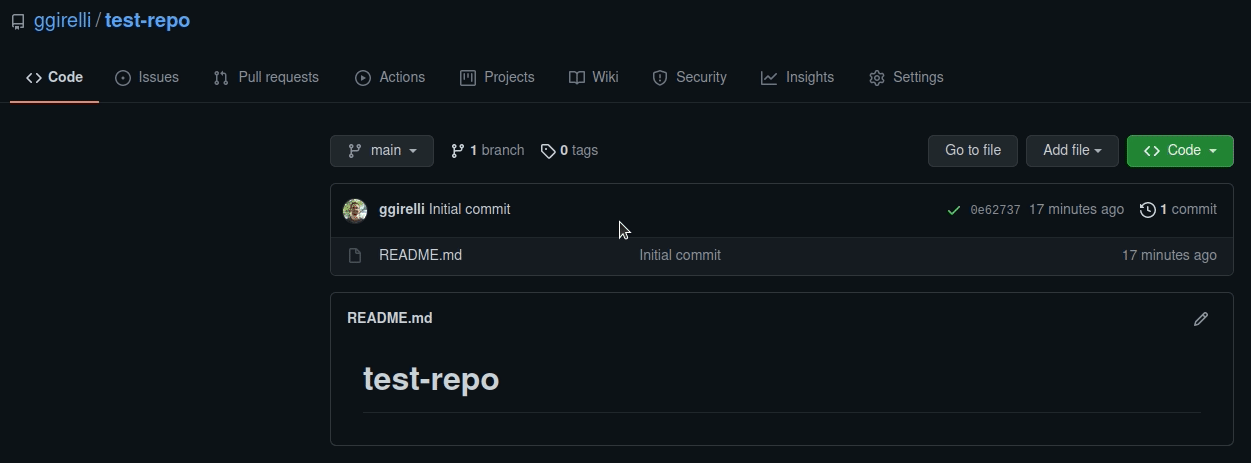
1. Create a new repository with GitHub pages
GitHub is an interface for git: a version control system which tracks all changes you
make to your code. Since this is done separately for each project, each lives in a
separate folder, or repository. So, let’s head over to GitHub again and
create a new repository. There, we will store the files of your new
website.
If you want to host your website at yourUsername.github.io, you should choose that
address as your repository name (replacing yourUsername with your GitHub username). If
you use a different repository name, instead, your website will be hosted at
youUsername.github.io/repositoryName.
Check the Add a README file and Add .gitignore options, selecting Jekyll as
“.gitignore template”.
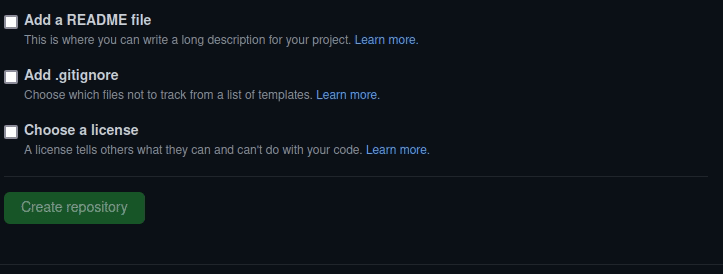
Check out the GitHub documentation for more details on how to create a new repository.
2. Download your new repository
The easiest way to interact with GitHub repositories is to have git and the GitHub
cli softwares available. This will allow you to download (or, in jergon, pull) your
files from the online repository to your local computer, and to upload (or push) your
updated files to the online repository for publishing.
If you do not already have them, check out these two guides to install git and cli on
your computer:
Then, download your new repository by running the following command:
gh repo clone yourUsername/repositoryName
Which you can find in the main page of your repository.
3. Install Jekyll
Now that we have prepared an online space where to store our website’s files, we need a software to preview the website locally. This is essential to double-check that any new content is properly displayed, before publishing it on the public web. My tool of choice for this is Jekyll, a static website generator. To set it up, first follow the detailed instructions to install Jekyll’s prerequisites. Then, run the following command:
gem install jekyll bundler
Inside the folder where you downloaded your website’s repository, which is typically accessible via:
cd repositoryName
4. Pick a Jekyll theme
We are finally at the step of choosing how you want your website to look like. There is a large variety of already available Jekyll themes to choose from, which you can find at the following addresses:
- GitHub Jekyll Theme collection
- Jamstack Themes
- Jekyll Themes (
.org) - Jekyll Themes (
.io) - Jekyll Themes (
.com)
After spending some time going through these collections, pick your favorite theme and downlaod it (uncompressed) in your repository folder. Please, note that the theme should be in your repository folder, and not in a subfolder.
Check out this page for more details on Jekyll themes.
5. Initialize your website
It is now time to initialize your website. This is done by customizing the _config.yaml
file, which can be different from theme to theme.
The most essential thing is to set two values of the configuration file:
- The
titlefield, which is the title of your website (e.g., Filopoetica for my website. - The
urlfield should have the address that will host your website: eitheryourUsername.github.iooryourUsername.github.io/repositoryName, depending on what you chose in step 1.
So, find the lines with the url: and title: fields, and edit them to something like
the following:
title: "repositoryName"
url: https://yourUsername.github.io/repositoryName
I recommend reading in detail the documentation of the theme you chose, and fill the other relevant fields of the configuration file according to your taste.
To preview your website, change the url to localhost:4000 and run the following
command from the repository folder bundle exec jekyll serve -w.
6. Publish your website online
If everything looks good, let’s upload your new website to the repository and publish it. To upload it, we need to describe the changes we made. We do this in three steps:
-
Select the changed files you want to upload with
git add-
To select all changed files use
git add -A.
-
To select all changed files use
-
Describe the changes with
git commit -m "description".- In this case, you could use some on the line of "Theme upload" as description.
- Then, let's upload the changes by running
git push.
For more details on GitHub in general, check out this GitHub introduction.
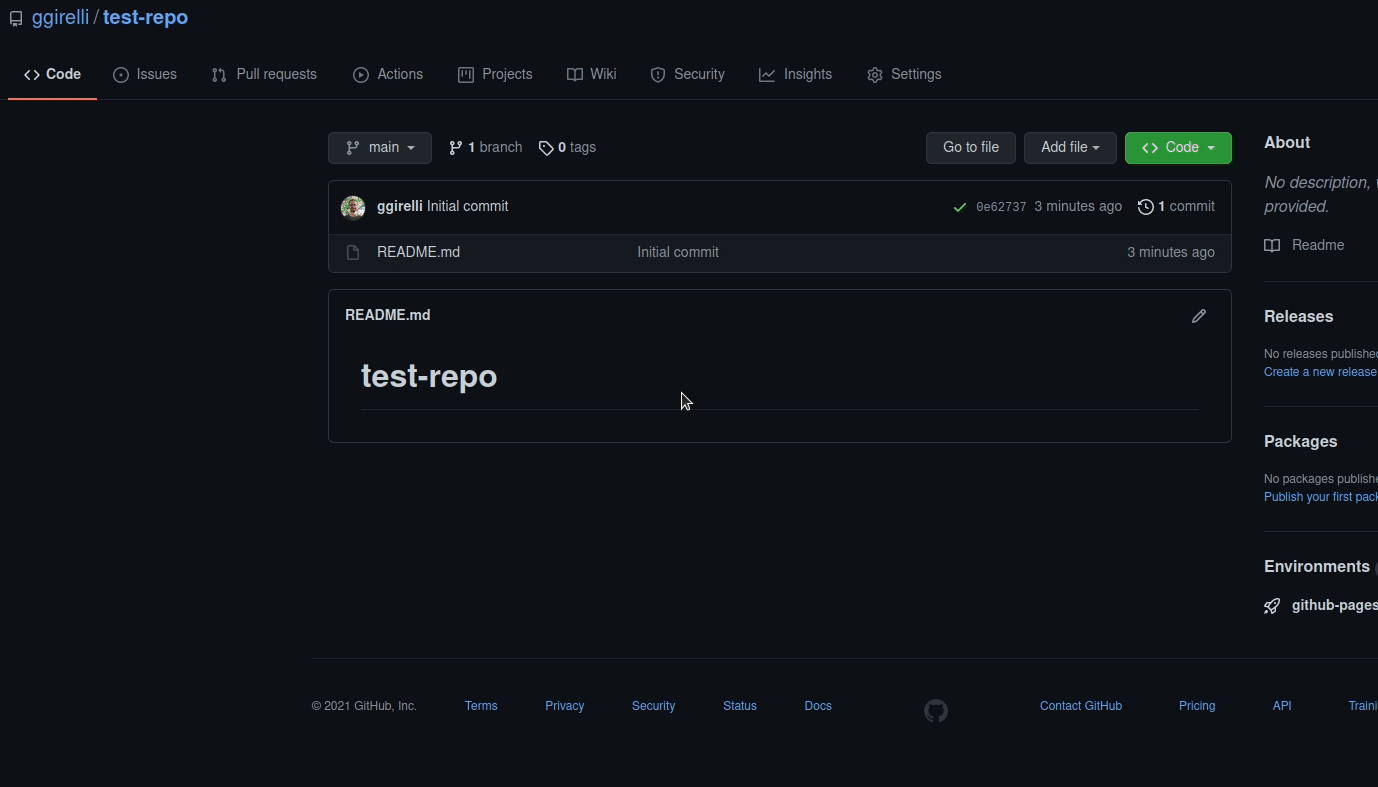
Once you have pushed your content to your new repository, let’s publish it! First, head
to Settings (top-right option), and select Pages from the options on the left.
Then, select the main branch and click the Save button.
Check out the GitHub Pages short introduction for more details on how to set them up on a repository.
Custom domains
GitHub Pages allows to publish your website at a custom domain. I did not cover this topic because the setup depends on your domain provider.
Conclusions
That’s it! If everything went correctly, you should now be able to access your website online and start publishing new content! ☺️
As a final note, remember that the address where your content is published is always available on the Pages section of your repository Settings.
Enjoy your new personal static website!
If you encounter any issues while following this guide, if you want to show your appreciation, or simply leave comment, you can do so by posting content on your webmention-compatible website, or by interacting with the syndicated copies of this content at the links below.